How to Make Pierogies

It’s been 5 years since my cookbook Pierogi Love: New Takes on an Old-World Comfort Food was released, and I’m so thrilled to see that so many of you are still making pierogies and sharing the love.
Even better, first-time pierogi makers are still reaching out to me with their newfound enthusiasm, so let’s keep it going!

When the book was published, videos weren’t as ubiquitous as they are now.
But this tutorial is long overdue, and I’m happy to share my process for making pierogies in a more visual form.
Here’s a video and step-by-step instructions on how I make my pierogi dough and shape it into those tender little dumplings we all can’t get enough of.
I’m using the classic potato-cheddar filling in these images, but you should always feel free to fill your pierogies with anything that strikes your fancy.
Read on for a list of suggested recipes you’ll find here on Good. Food. Stories.

And you can always pick up a copy of Pierogi Love! (If you want a signed copy, I have a limited number of books available for purchase through my own site as well.)
How to Make Pierogi Dough
In a medium bowl, mix 1 large egg, 1/2 cup (113 grams) plain Greek yogurt of any fat percentage, and 3 tablespoons melted unsalted butter.
In a large bowl, whisk together 2 cups (240 grams) all-purpose flour and 1 teaspoon kosher salt or 1 tablespoon sugar + 1/4 teaspoon salt, depending on whether you’re making savory or sweet pierogies.
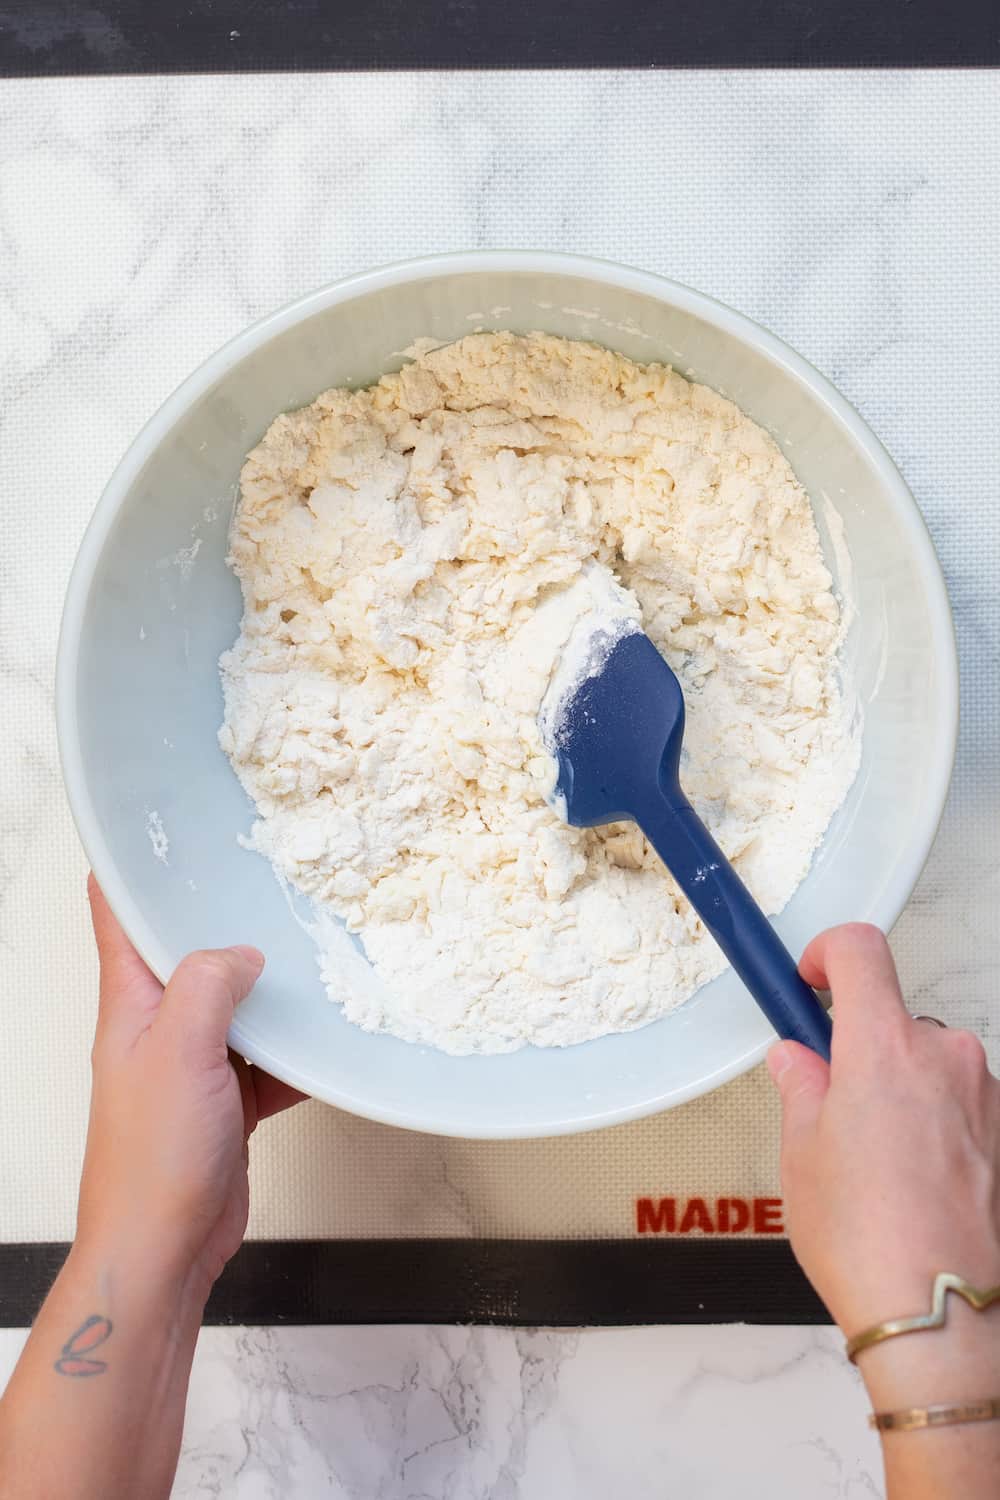
Stir the wet ingredients into the dry and mix with a silicone spatula just until a shaggy dough forms.
Switch to using your hands and knead and press the dough against the sides of the bowl to form a ball.
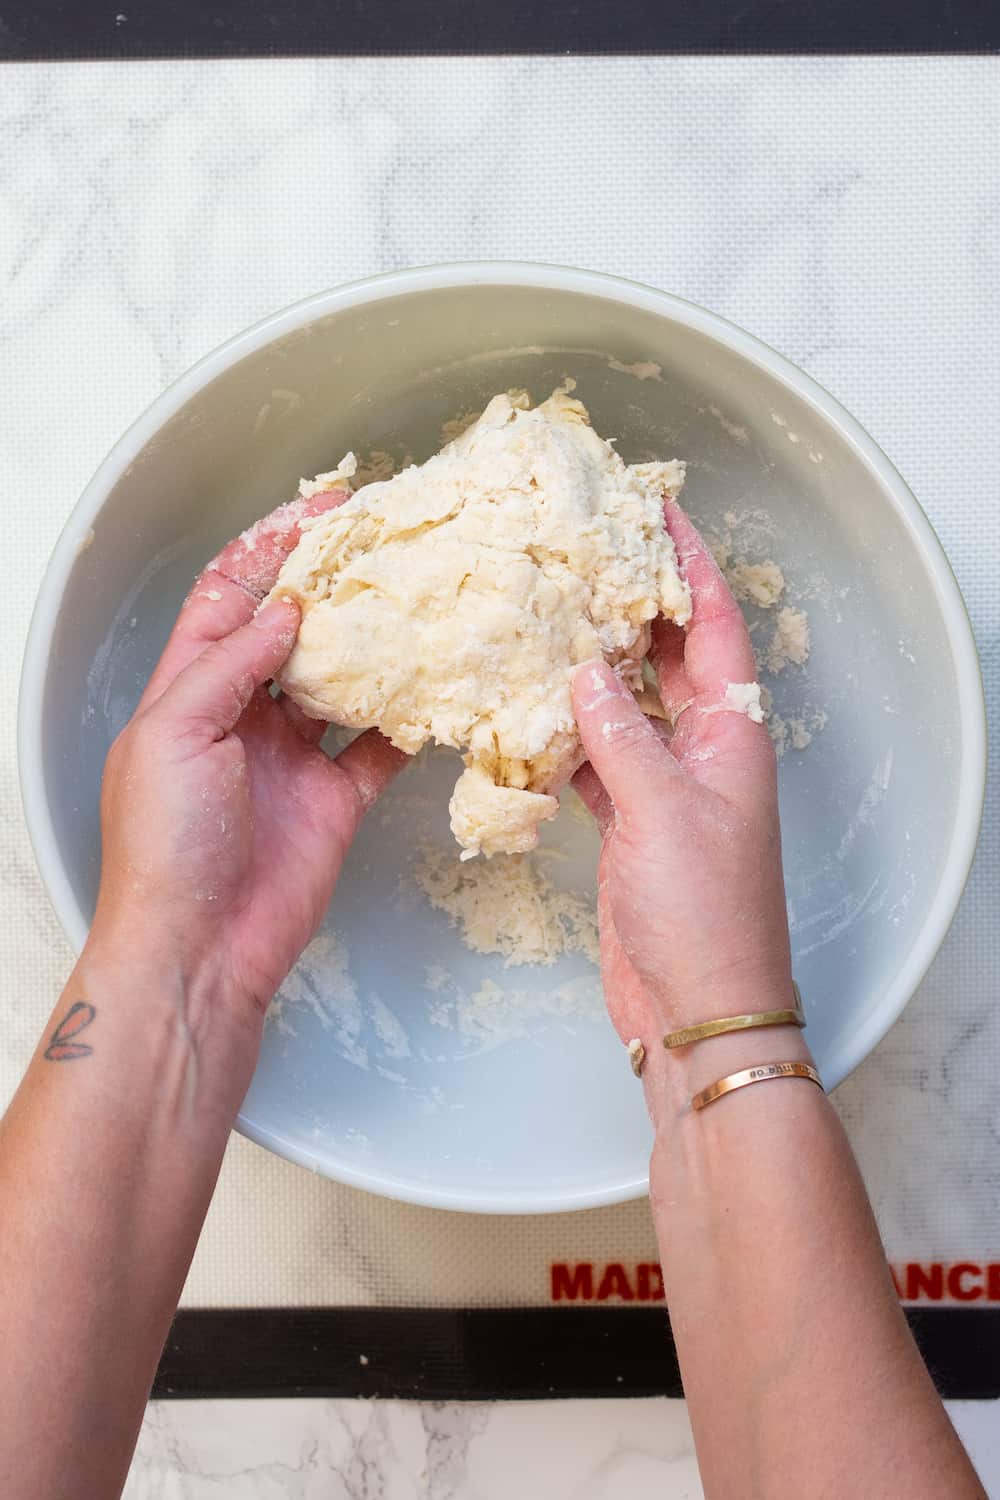
Then, on a clean work surface, continue kneading the dough until smooth. The whole process shouldn’t take more than 5 minutes total.
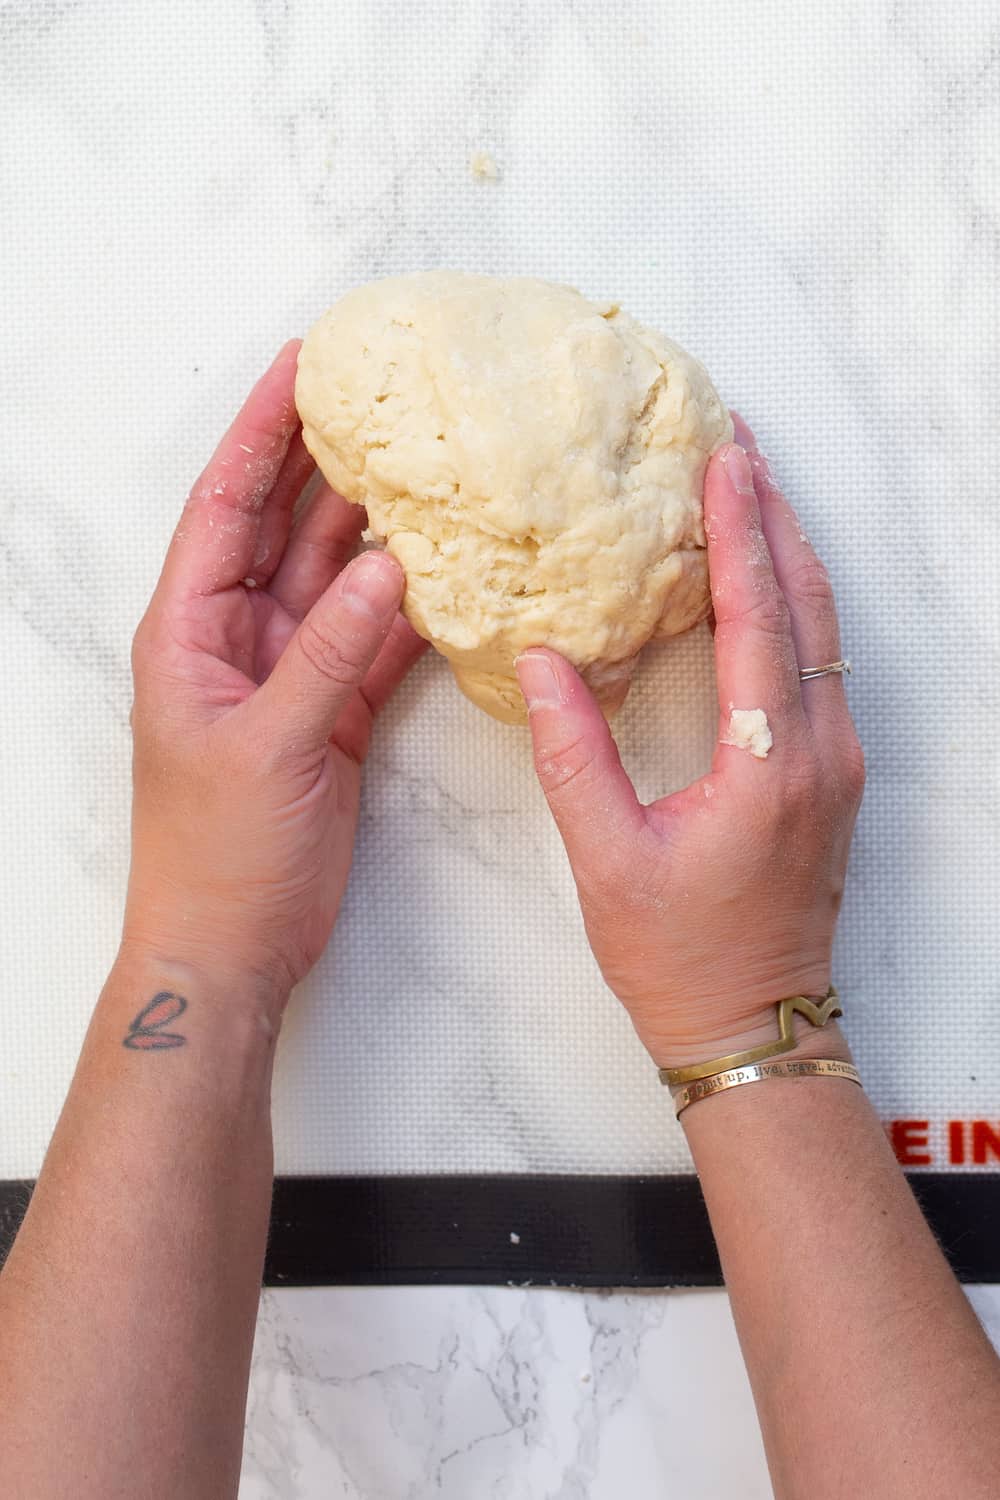
(Oh, and I always recommend a silicone countertop mat for any dough or pastry work. Especially if you have less-than-ideal counters or are doing this on a table.)
Place the bowl you just used over the dough to cover and let it rest for 15 minutes. This lets the gluten relax and makes the dough even more stretchy and pliant.
How to Shape Pierogies
Whisk 1 egg together with 1 tablespoon water to make egg wash. Or if you have extra egg whites hanging around from another recipe, this is a perfect time to use one up.
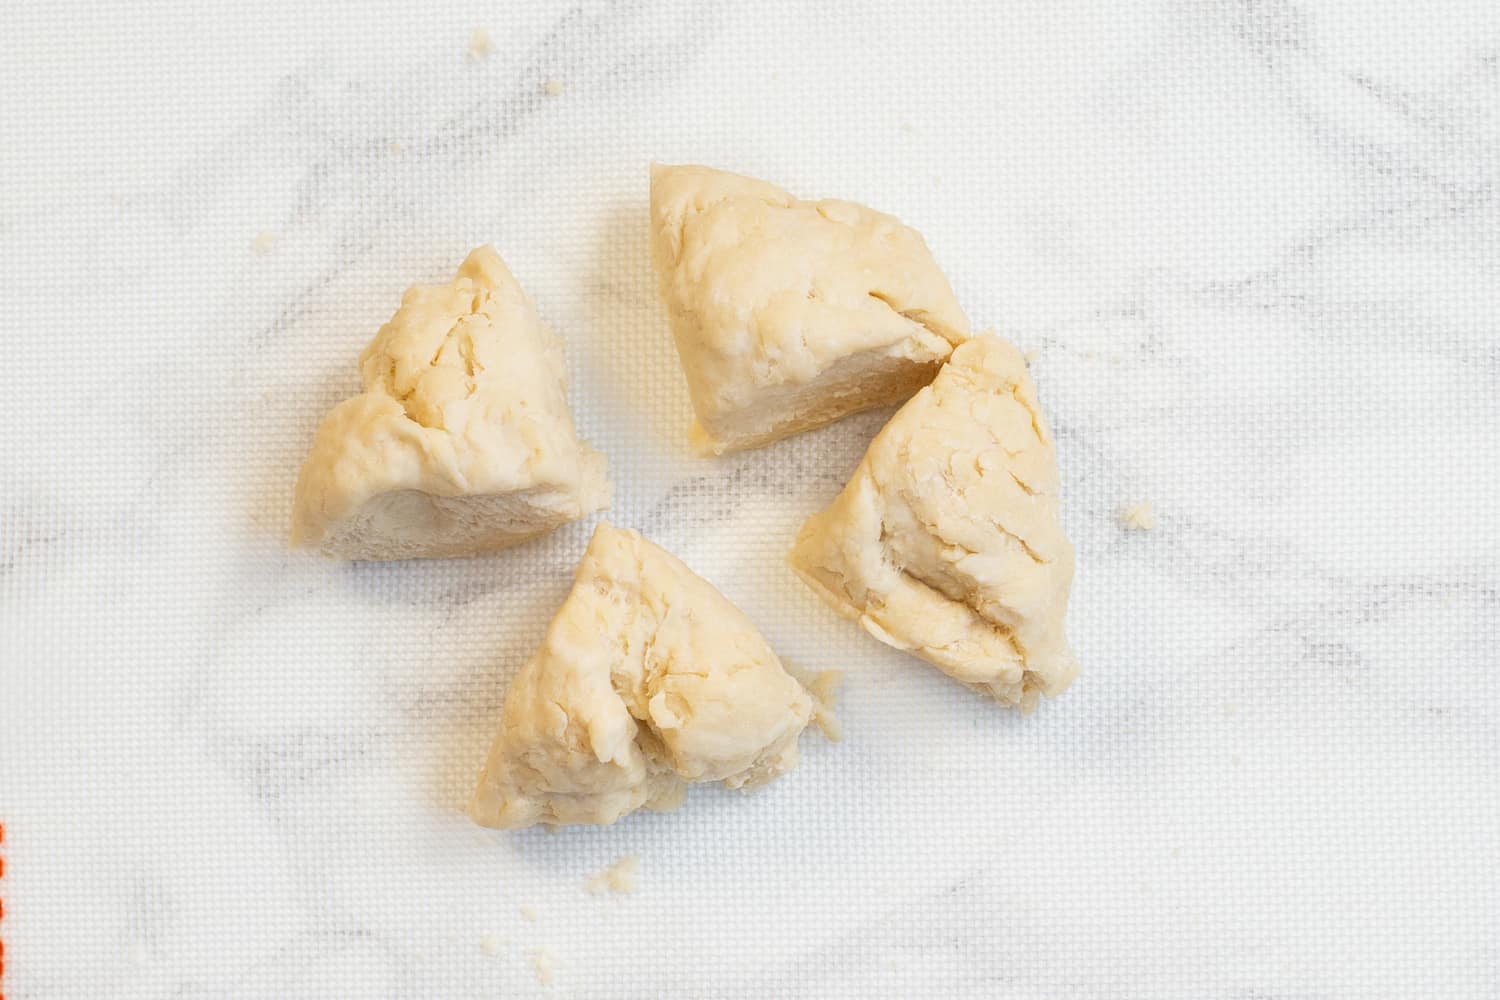
Divide the dough into 4 pieces. Keeping the rest of the pieces covered with the bowl, roll out 1 piece at a time into a thin rectangle. Try to get it as thin as possible, because it will bounce back with all that signature pierogi stretchiness.
With a 3-inch round cookie cutter, cut out 6 rounds from the dough. You can always use a wide-mouth jar lid in its place, but I keep a cookie cutter on hand specifically for this task.
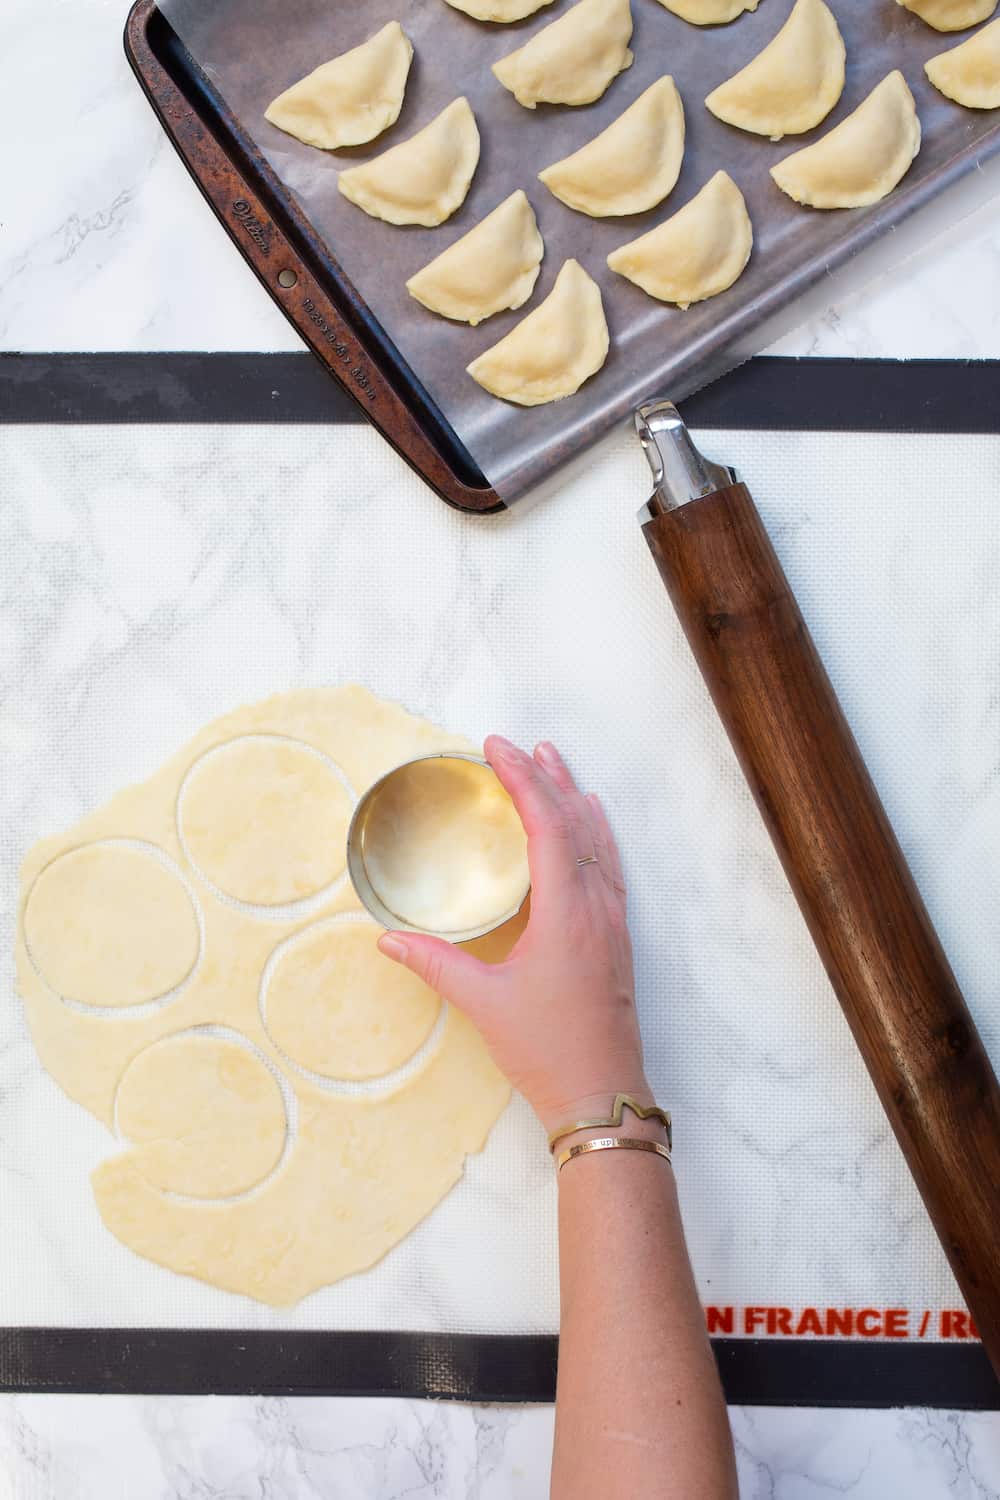
Depending on how you divided the dough, you might be able to get 7 rounds out of one piece and only 5 rounds out of another piece. Don’t sweat it. All of my recipes have enough filling for at least 28 pierogies, if you get that many.
You can also “Frankenstein” a round together by cutting out two half-moons from the edges of the dough and pressing them together to seal.

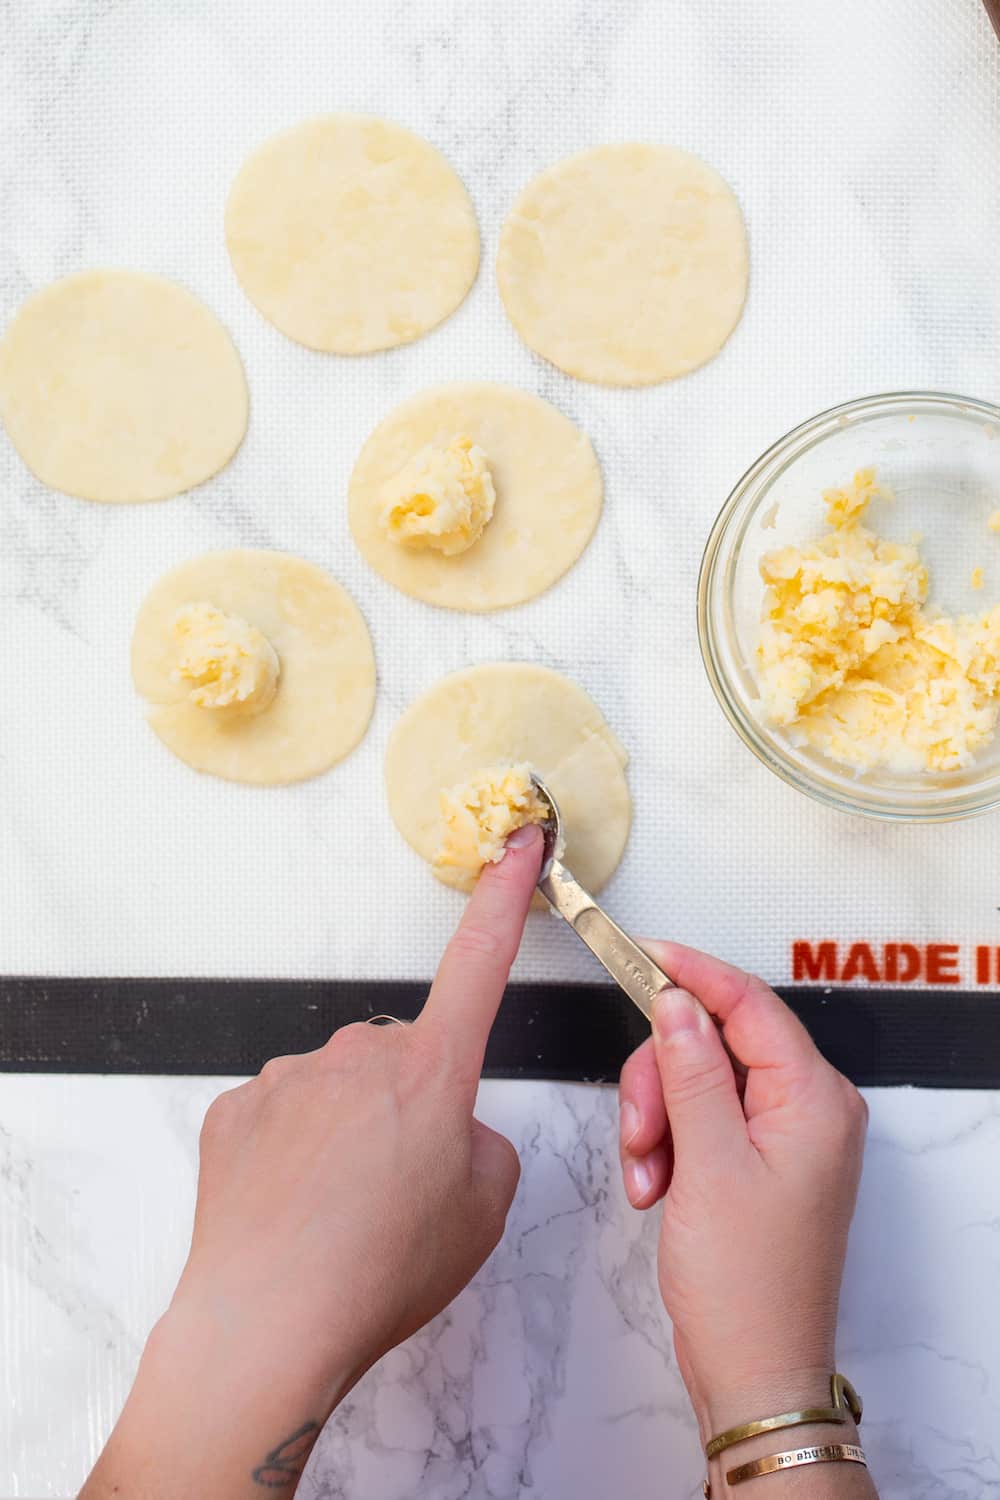
With a teaspoon, spoon filling into the center of each dough round. Don’t overfill! It may not look like enough, but I promise that once you fold the pierogi up, there will be enough inside.
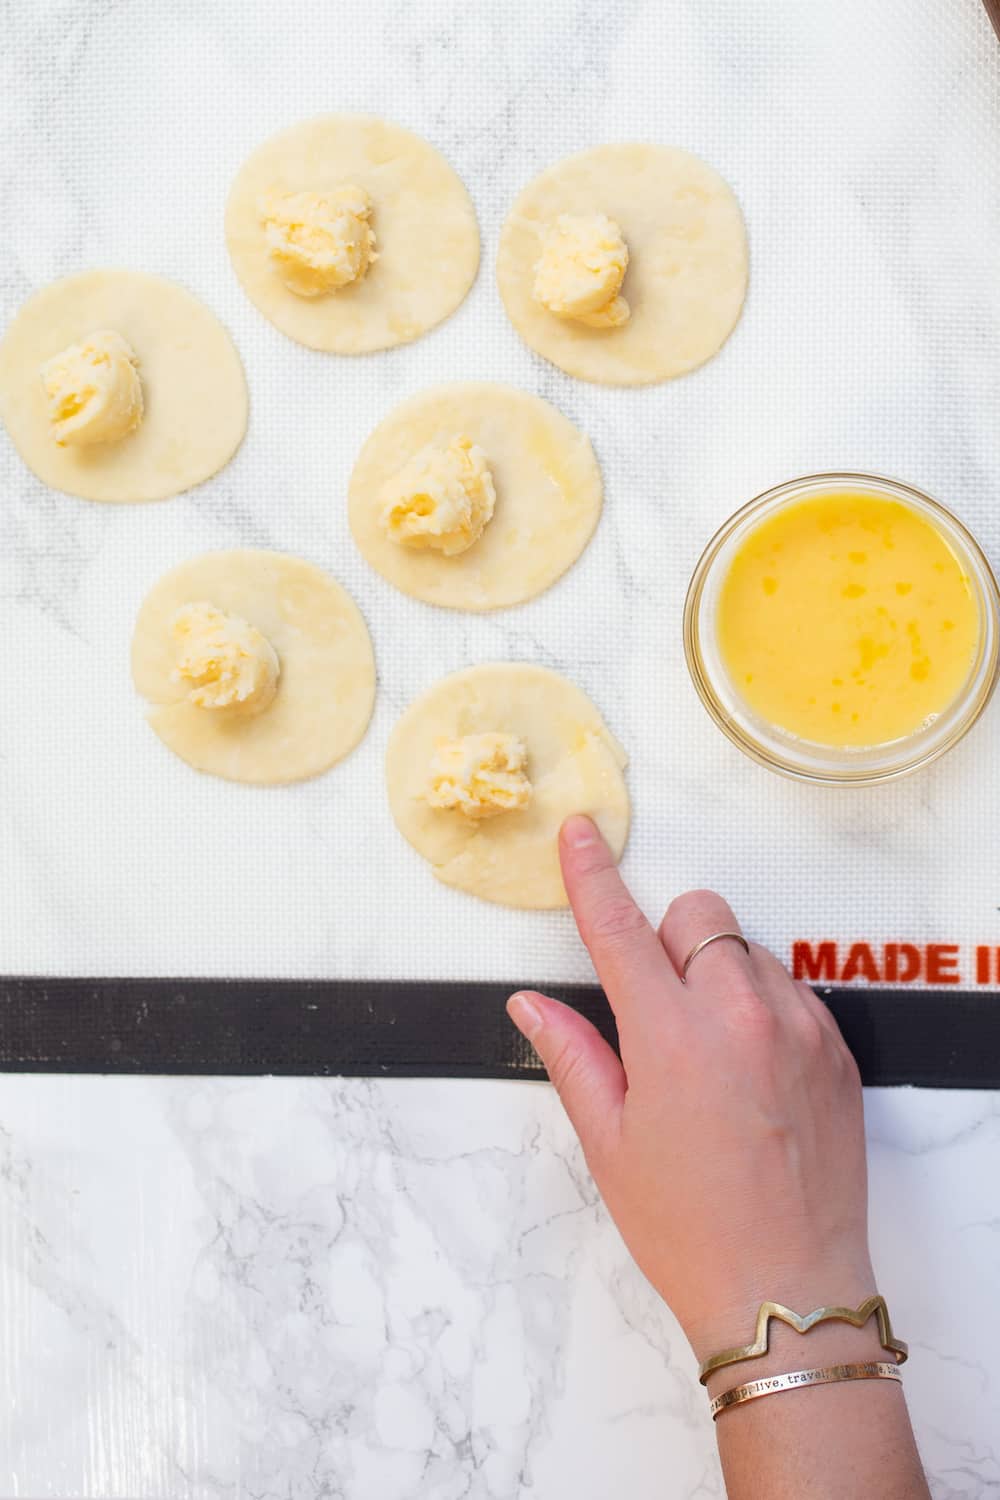
With your finger, brush a bit of the egg wash around half the edge of the dough.
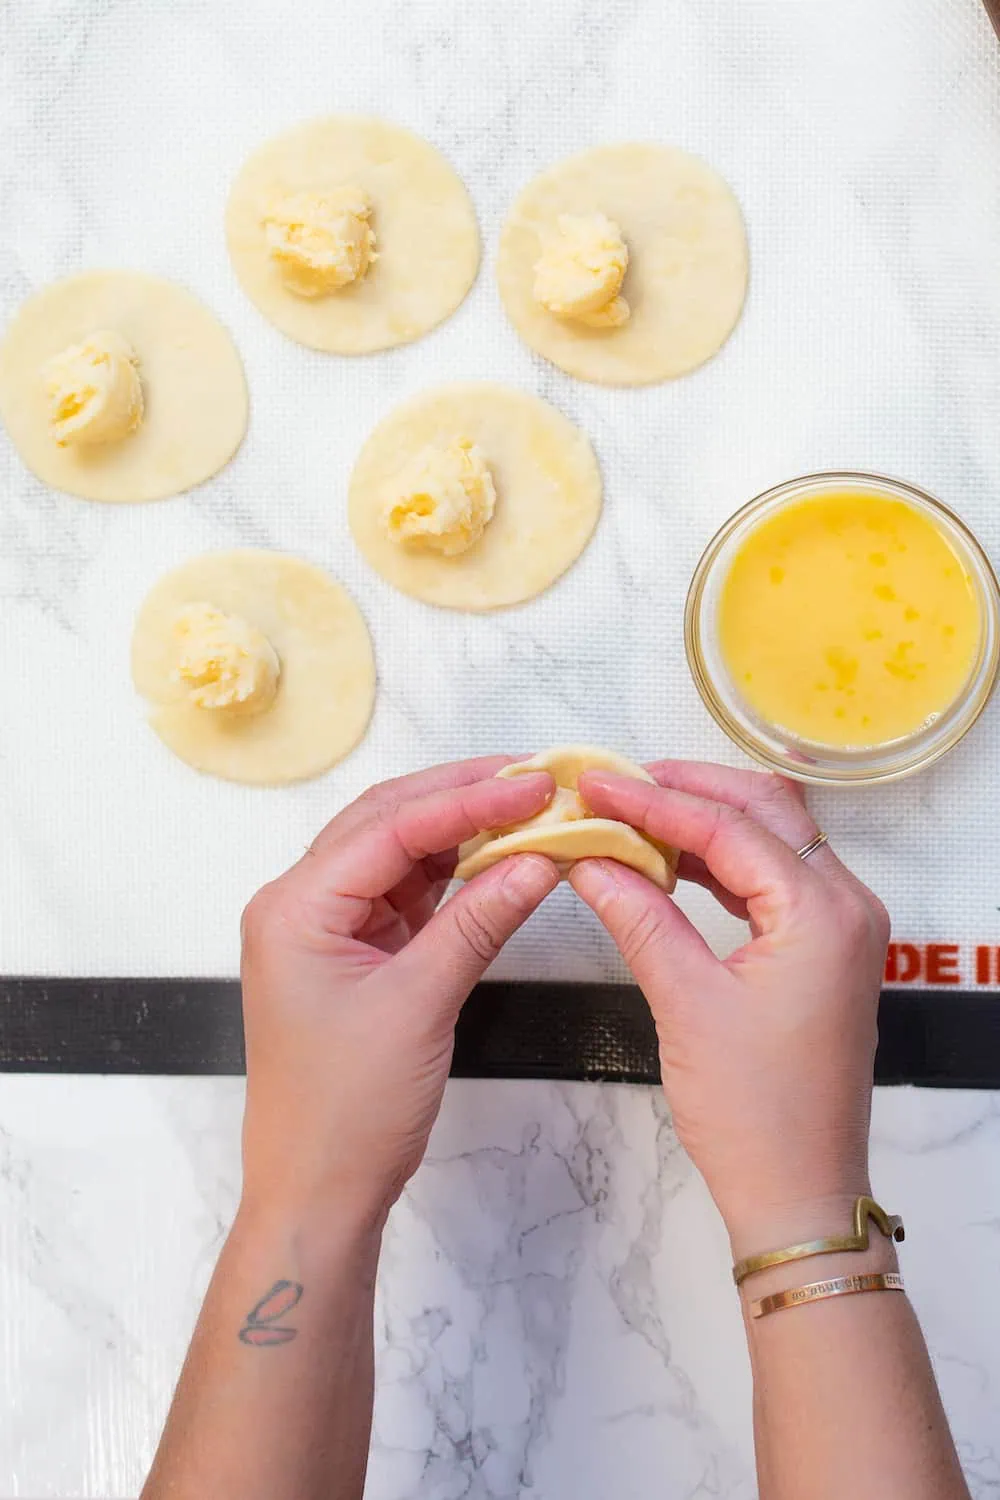
Now it’s time to pinch, fold, and seal.
Pick the pierogi up like a tiny taco and use your fingers to seal the edges, starting at the top and working your way down the sides.

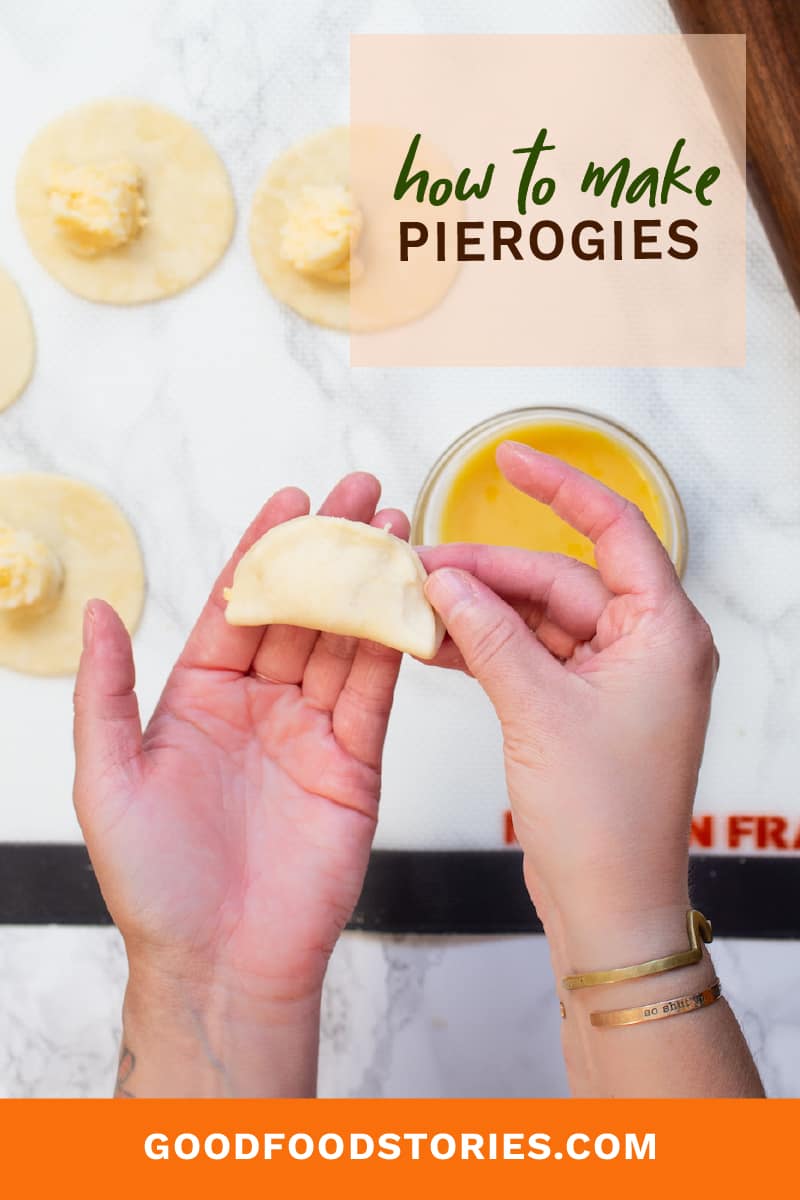
Place on a waxed paper-lined baking sheet and repeat.
How to Cook and Store Pierogies
Unless you’re making your pierogies immediately, your best bet is to put that baking sheet of ‘rogies right into the freezer.
Let them freeze for about 30 minutes until they’re hard, then transfer to a bag or other freezer-safe container for up to 3 months.
When it comes time to cook them, you can boil or deep-fry your frozen pierogies right from the freezer–no thawing necessary!

Either way, it takes about 5 minutes to boil or deep fry a pierogi. They’re ready when they float.
If you’re boiling your pierogies, you can also finish them with a simple pan-fry. Melt 1 tablespoon unsalted butter in a skillet over medium heat, and add as many pierogies will fit comfortably without crowding.
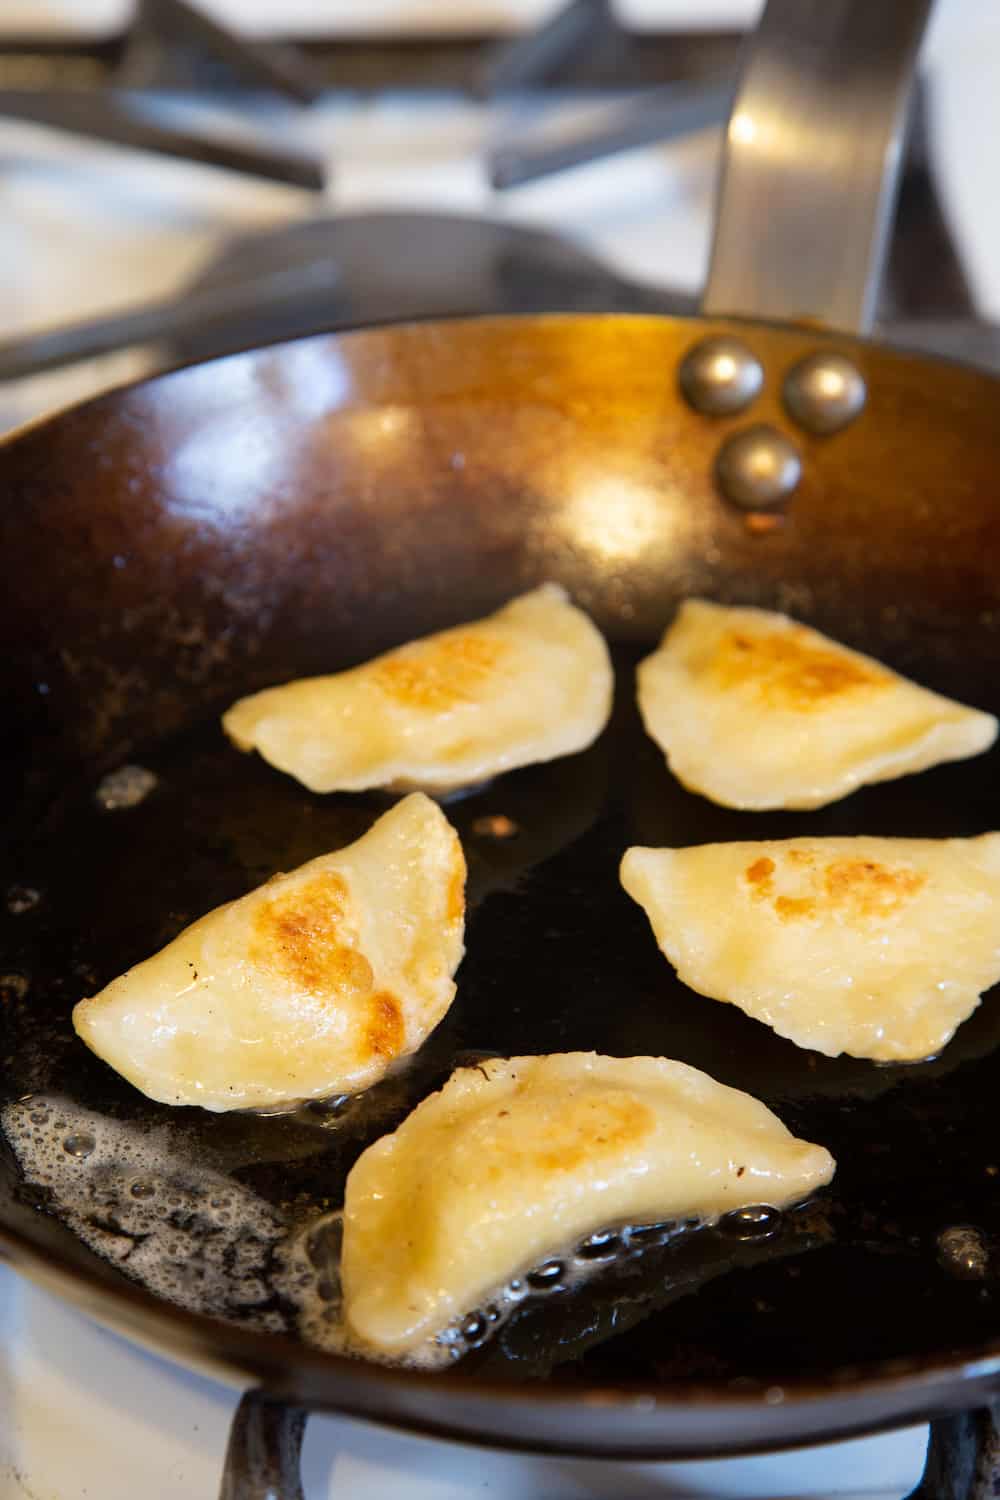
Cook until browned and crispy, about 2-3 minutes per side, then repeat until stuffed.
Now, how will you fill your pierogies? How about some of these recipes?
Pierogi Recipes
Homemade pierogies can be made with almost any sweet or savory filling imaginable. Here are some creative ideas to get you started.
Pittsburgh Pierogies in 4 Flavors
Pittsburgh's famous Pirates Pierogi Race inspired these potato pierogies with 4 different mix-ins: Cheddar cheese, caramelized onions, sauerkraut, or jalapeño.
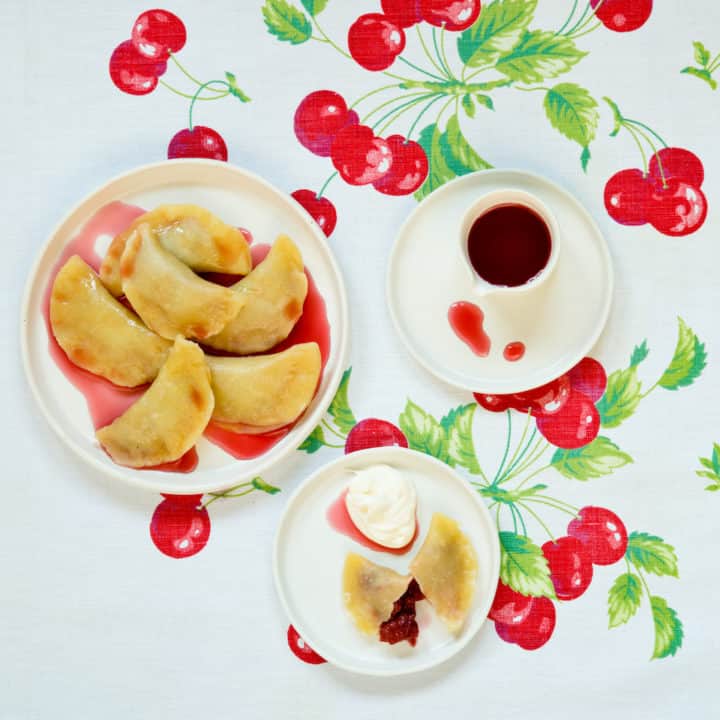
Sour Cherry Pierogies
Sour cherry pierogies are one of my favorite recipes from my cookbook, Pierogi Love: New Takes on an Old-World Comfort Food. They're made with an easy cherry jam.
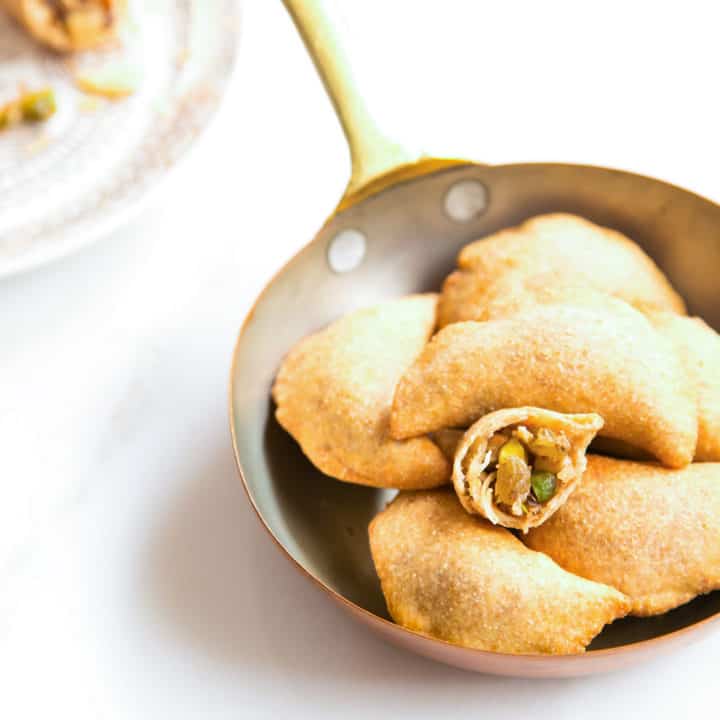
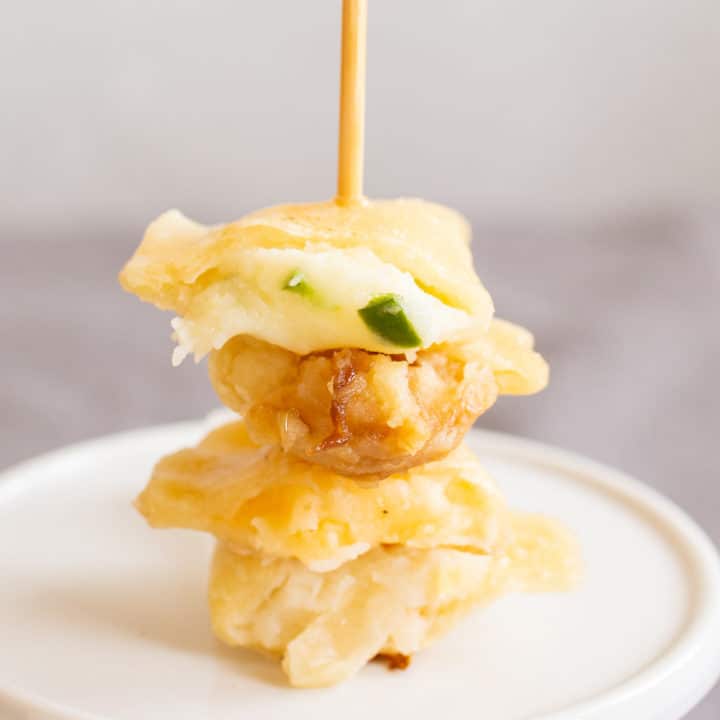
Ethiopian Destaye Dessert Pierogies
Destaye, fried Ethiopian pastries filled with a muesli-like mix of nuts, coconut, and spices, are the inspiration for these sweet pierogies.
FTC Disclosure: As an Amazon Associate, I earn from qualifying purchases. Good Food Stories LLC receives a minuscule commission on all purchases made through Amazon links in our posts.

Casey Barber
Casey Barber is the owner and founder of Good Food Stories LLC and a visual storyteller whose work often focuses on the intersection of food and culture. She is also the author of the cookbooks Pierogi Love: New Takes on an Old-World Comfort Food and Classic Snacks Made from Scratch: 70 Homemade Versions of Your Favorite Brand-Name Treats, and she couldn’t get anything done without the help of her executive assistant cats, Bixby and Lenny. Her favorite color is obviously orange.


